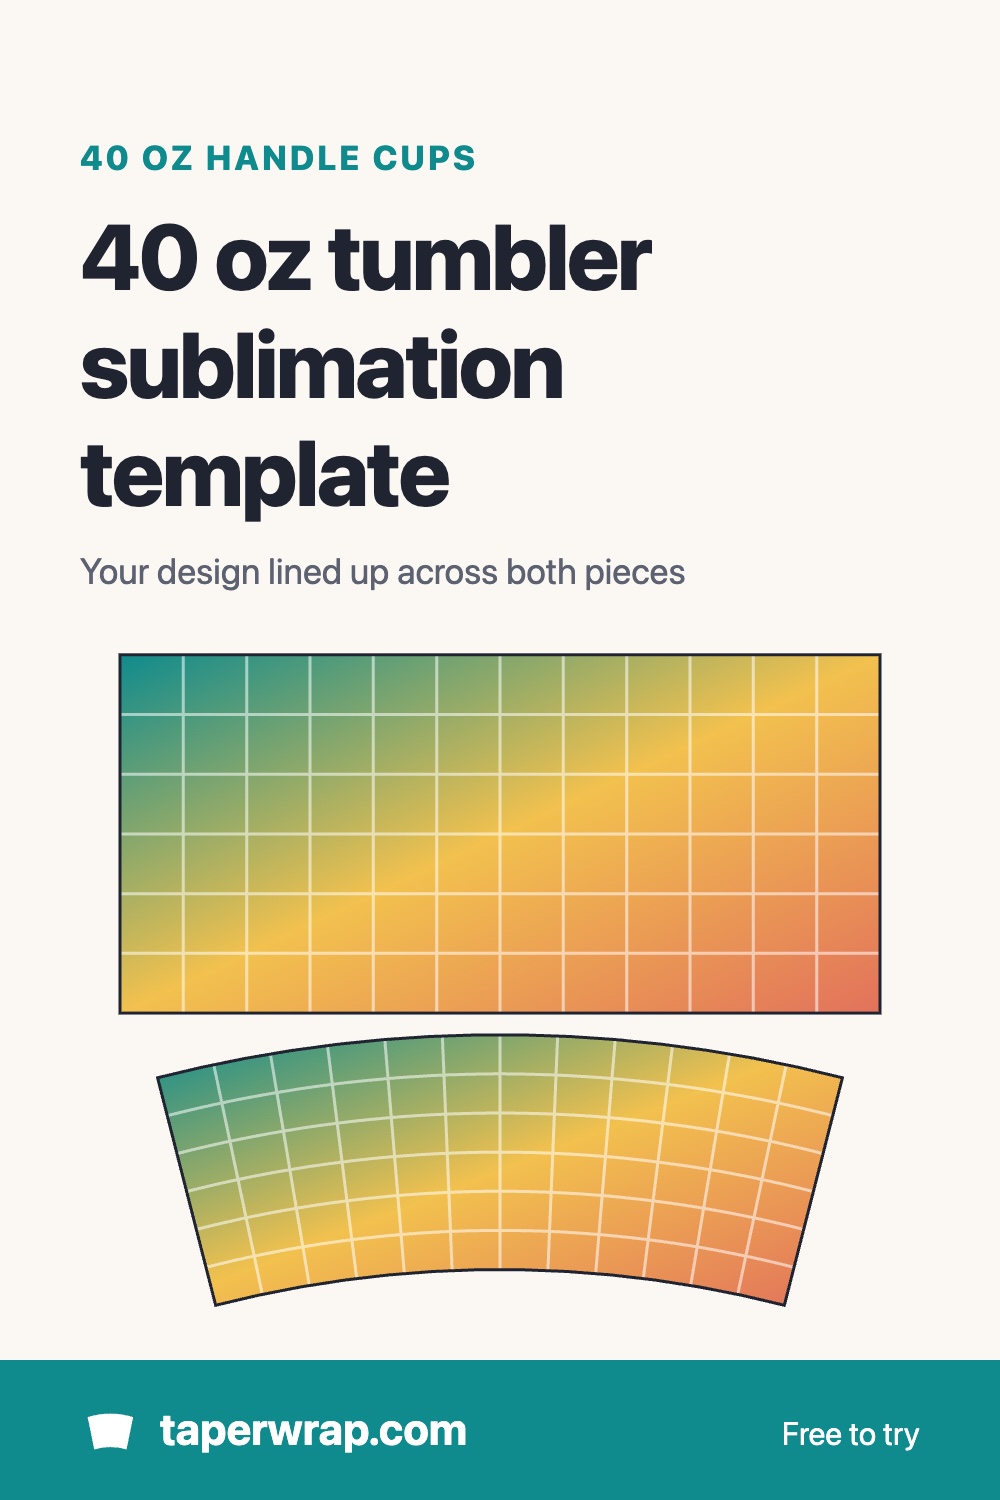
40 oz tumbler sublimation template that fits your cup
A 40 oz tumbler with a handle isn't one simple shape, so one rectangular wrap won't fit it. Here's how to make a template for your exact cup and get your design to line up across every piece.
Why 40 oz tumblers are printed in pieces
Most 40 oz handle tumblers have two printable areas. The upper body is close to straight, and the lower part tapers in so the cup fits a cup holder. Between them there's usually a ridge or band that is hard to print over. A straight top area and a tapered bottom area can't both be covered by one flat sheet, so crafters print them as separate pieces:
- Top piece: a rectangle, because that part of the cup is straight
- Bottom piece: a curved band, because that part of the cup is a cone
The hard part is making the design line up across the gap, so a pattern or picture looks continuous rather than chopped in two.
Measure your cup
Take the handle off first if it's removable. With a soft tape measure, measure each printable area:
- Top piece: circumference where the print starts under the lid, circumference where it ends above the band, and the height between.
- The band: the height of the part you won't print on, between the two pieces.
- Bottom piece: circumference just below the band, circumference just above the base, and the height between, measured along the side.
Brands vary, and even cups sold as the same size can differ by a few millimetres, so measure your own blank.
Make the template
- Open TaperWrap and upload your design. Use one tall design meant to cover the whole cup.
- Enter the top piece's measurements as the first section.
- Click Add a section, enter the band height as the unprinted band, then the bottom piece's measurements.
- Check the preview. The top piece stays a rectangle and the bottom piece curves to match the taper.
- Download the PNG or the PDF for your paper. Most 40 oz layouts fit Tabloid (11 × 17 in).
TaperWrap splits your design by height across the whole cup. The slice that falls on the band is left out, so everything above and below lines up the way it will on the cup. Keep text and faces away from the band area of your design.
Printing and pressing tips
- Print at actual size / 100%, never "fit to page".
- Cut along the printed cut lines. Cut small notches for the handle brackets so the paper lies flat around them.
- Put the seam where the handle will be, so it's hidden once the handle is back on.
- Press each piece following the time and temperature your blank's maker recommends. The top and bottom may need separate presses.
Common questions
Can I use a free 40 oz template from a blank supplier?
Yes. If your supplier gives exact measurements for your cup, enter those. A template made for a different brand may be a few millimetres off, which shows up as a gap or overlap at the seam.
Does my design have to be a special size?
No. Use one design for the whole cup. TaperWrap stretches it to go all the way around each piece and splits it by height.
What if my cup has more than two printable areas?
Add as many sections as you need. Each gets its own measurements and its own unprinted band above it.